Shoulder Workout for MASS (that you’ve never done)
Unlock the secret to successful bodybuilding with a focus on exercise, diet, rest, relaxation, and a guide to building bigger, wider shoulders.
Read More
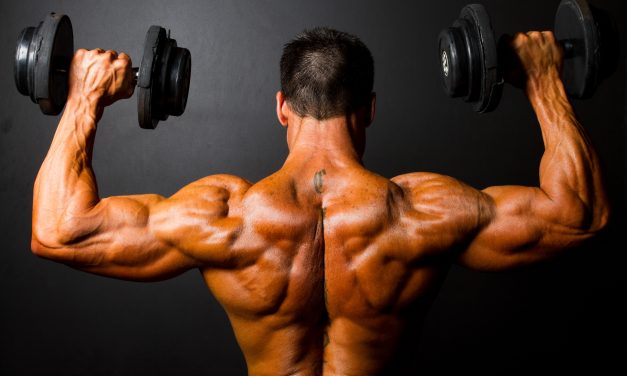
Unlock the secret to successful bodybuilding with a focus on exercise, diet, rest, relaxation, and a guide to building bigger, wider shoulders.
Read More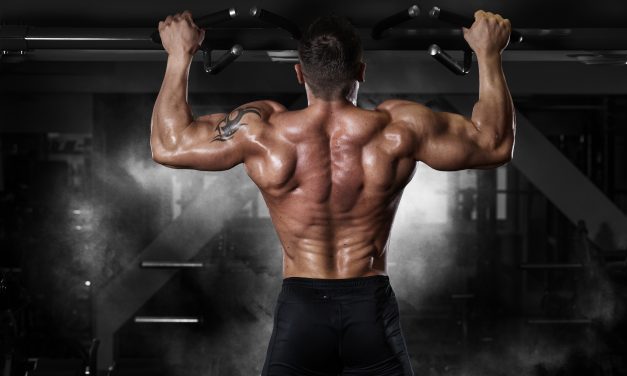
Want a bigger back using bodyweight exercises? Try this pull up challenge and see if you’re up for the challenge my friend.
Read More
© 2024 Critical Bench