Easing Knee Pain with Stretches in Bed
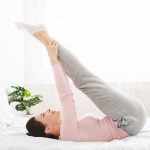
Discover simple stretches for knee pain that you can perform in bed to alleviate discomfort and improve mobility, ideal for incorporating into your everyday routine.
Read More
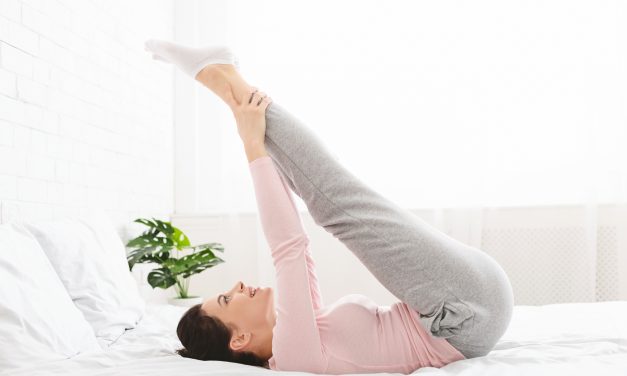
Discover simple stretches for knee pain that you can perform in bed to alleviate discomfort and improve mobility, ideal for incorporating into your everyday routine.
Read More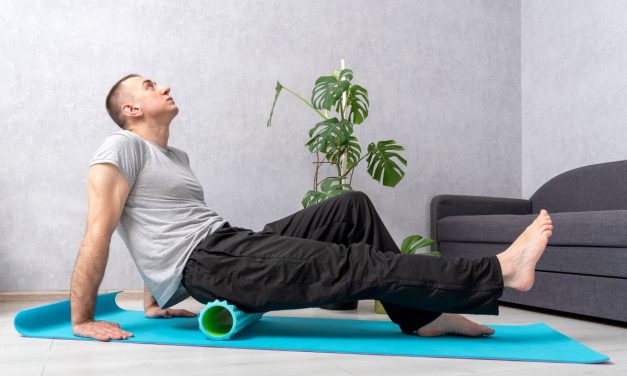
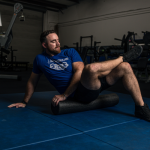
Discover the science behind foam rolling & Self-myofascial release (SMR). Learn how it enhances flexibility, prevents injuries & optimizes muscle function.
Read More
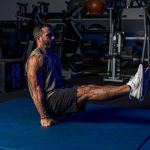
Guest post by strength and conditioning coach Mike Robertson on the top ways to stay healthy and bench pressing big numbers for many years to come.
Read More
Discover the Unbreakable Method to Break Free from Pain. Achieve Peak Performance with Keith Scott’s 16-Week Plan & Comprehensive Fitness Guides.
Read More


© 2024 Critical Bench